L
Lena Morgan
Guest
- Thread Author
- #1
An air-dry-clay project can occupy very little space while you are making it and much more space while nobody can touch it. The half-used package, damp work, drying shapes, and finished decorations need different conditions. Putting them into one attractive craft basket hides those differences and makes the next session harder to start.
Pinterest’s Fall 2026 creator guidance includes hands-on hobbies and casual crafting. This guide applies that signal to a specific small-room problem: keeping clay work identifiable as it changes stages. It is a storage and handoff routine, rather than a recipe, a drying timetable, or instructions for making a food-contact object.
Start with the actual package. Record the brand, product name, color, opening date, and the instructions that apply to that compound. “Air dry” describes a broad category, not a promise that every material can be stored, painted, or sealed in the same way. Keep the original directions accessible instead of replacing them with a handwritten guess.
Give a current project a short name that means something outside the moment of making it. “Three leaf ornaments, Maya, October” is more useful than “clay stuff.” A small card or private note can connect the project with its maker, material, intended next step, and any unresolved question. Keep labels beside the work rather than pressing them into a delicate surface.
Separate unrelated modeling compounds. A child’s reusable modeling material, a ceramic clay requiring firing, and an air-drying craft compound do not become interchangeable because they are the same color. The broader storage test before buying an organizer helps define what actually belongs in the project before you choose its container.
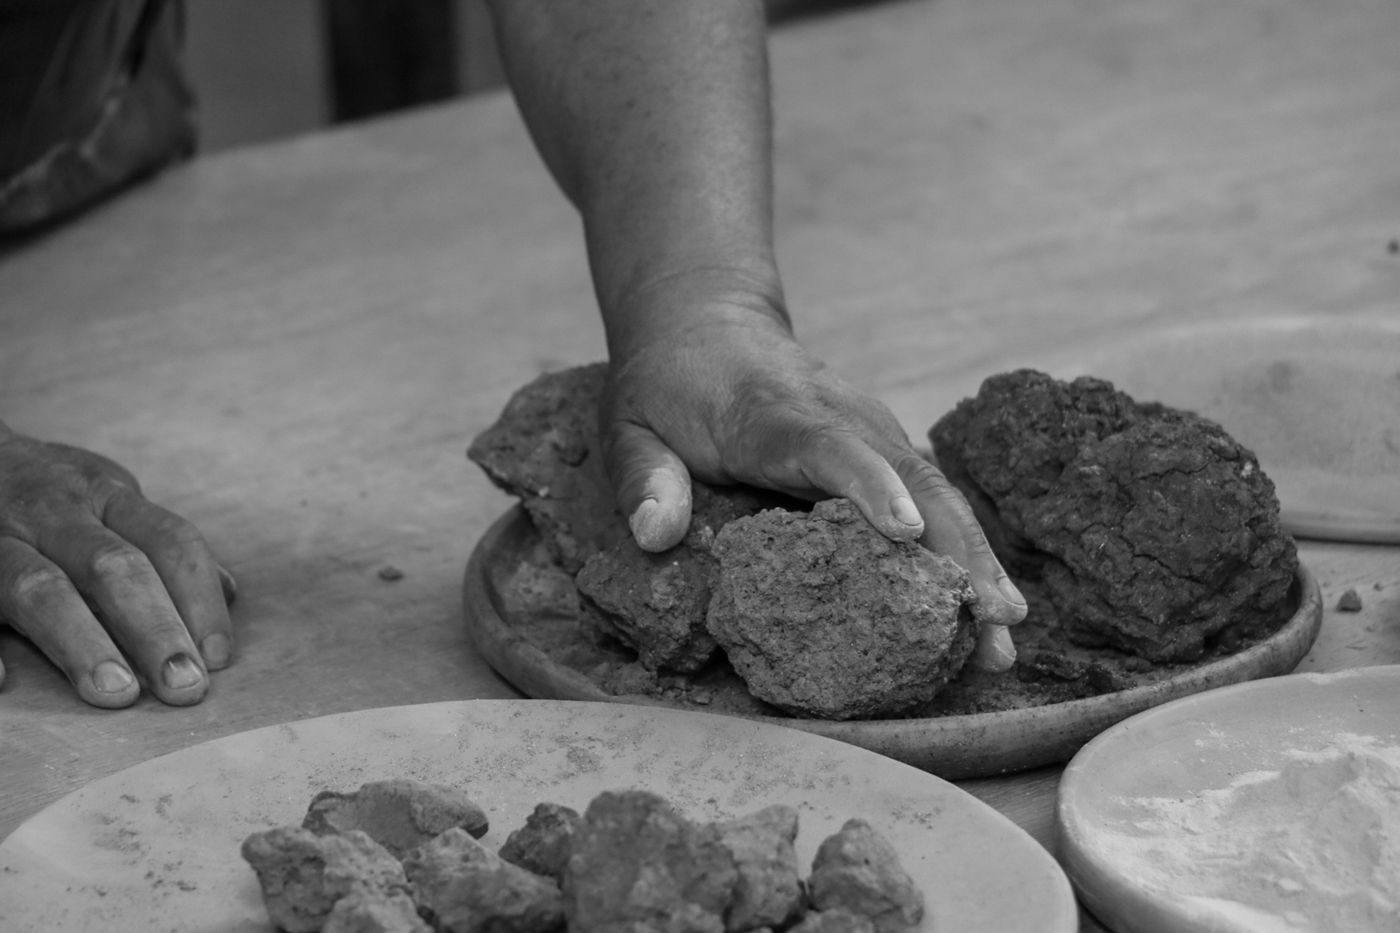
Black-and-white close-up of hands working clay. Illustrative photograph via Pexels.
Unused clay needs the storage method specified by its manufacturer. Crayola, for example, directs users to keep unused Air-Dry Clay in an airtight container and advises against storing clay to which water has been added. That is guidance for that product, not a universal instruction to rehydrate or indefinitely preserve every compound.
Keep the original product information with the remaining supply. If the original enclosure is no longer usable, select a suitable replacement according to the material’s instructions and identify its contents clearly. Do not transfer an unfamiliar material into a food container and leave it where someone could mistake it for something edible.
Worked scraps deserve a separate decision. Mark them as worked material and consult the product directions about whether they can be saved. Do not quietly mix uncertain scraps back into fresh stock just to make the shelf look tidy. A small supply that remains identifiable is more useful than a larger lump whose condition and composition are unknown.
Reserve a stable place that can remain undisturbed for the required process. A tiny ornament still needs support, space around it, and a route for the person who must move past the shelf. The best location is not automatically the sunny windowsill or the surface closest to a heater; follow the material’s drying guidance.
Use a suitable support that allows the work to remain in the recommended position. Consider how you will carry that support if necessary, without assuming a flexible mat or overloaded tray will keep delicate shapes intact. Do not stack unfinished work or put a lid over it merely because the surrounding room needs to look finished.
Before inviting several people to make objects, check how many pieces the available drying area can actually accommodate. The capacity ceiling approach is especially helpful here: count the space needed by work in progress, not only the volume of unopened supplies. If the area is full, finish or resolve those projects before opening another batch.
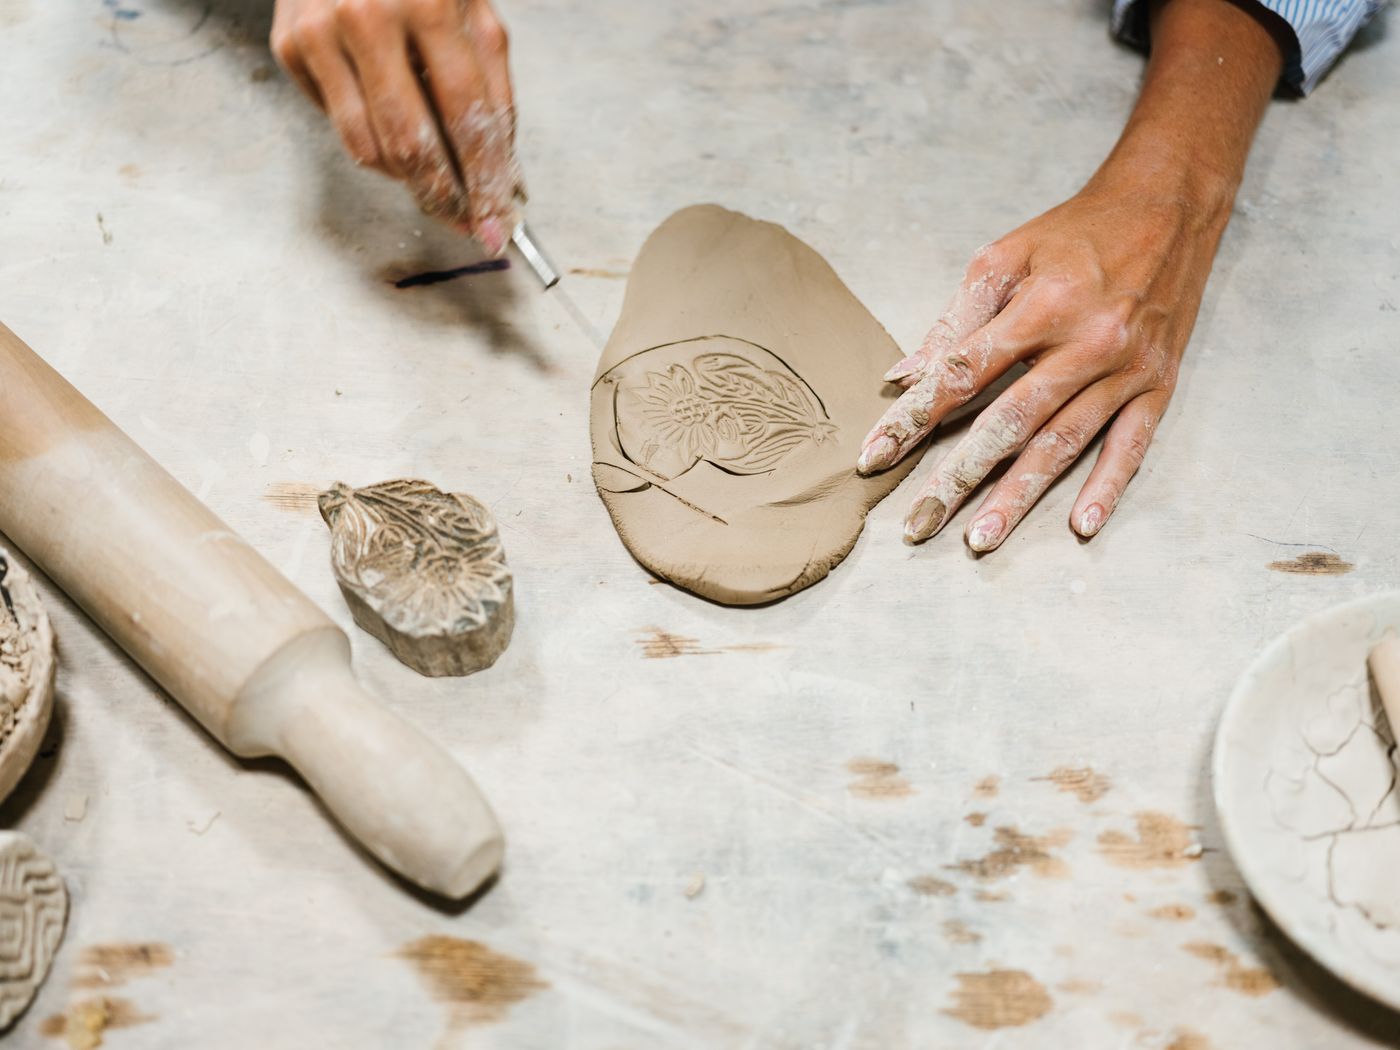
Leaf impression on rolled clay beside a rolling pin. Illustrative photograph via Pexels.
A useful drying label records when the piece was formed and what still needs checking. It should not turn an estimated interval into a guarantee. Thickness, material, and conditions can affect the process; a surface that looks dry does not establish that the whole object is ready for the next treatment.
Use plain stage descriptions such as “formed, drying,” “check against product instructions,” and “ready for specified finish.” Record who will make that decision. In a shared room, this prevents an enthusiastic helper from painting or wrapping an object because the calendar says the original estimate has passed.
Keep a stalled project honest. If you do not know the compound, the instructions have been lost, or the piece has cracked, mark the issue rather than moving it into the finished group. The organization system should make uncertainty visible. It cannot certify that a material has dried correctly or that a damaged object is suitable for its intended use.
Paint, sealant, brushes, and other finishing materials need their own appropriate storage and instructions. Do not place an open finish beside drying pieces simply to signal what happens next. Keep the current project note linked to the chosen product, including any compatibility question that must be resolved before use.
Plan finishing as a distinct session with the workspace, ventilation, supervision, and handling required by the actual products. A support used for a drying shape is not automatically suitable for a coating operation. Likewise, the fact that a decoration has been sealed does not establish food safety, waterproofness, or outdoor durability.
Put away unused finishing stock when the session ends, accounting for small parts and tools where children or pets are present. The small mending-kit routine offers a useful parallel for returning tools after a task. Keep the clay tools in their own identified group so another repair or craft does not borrow an essential item unnoticed.
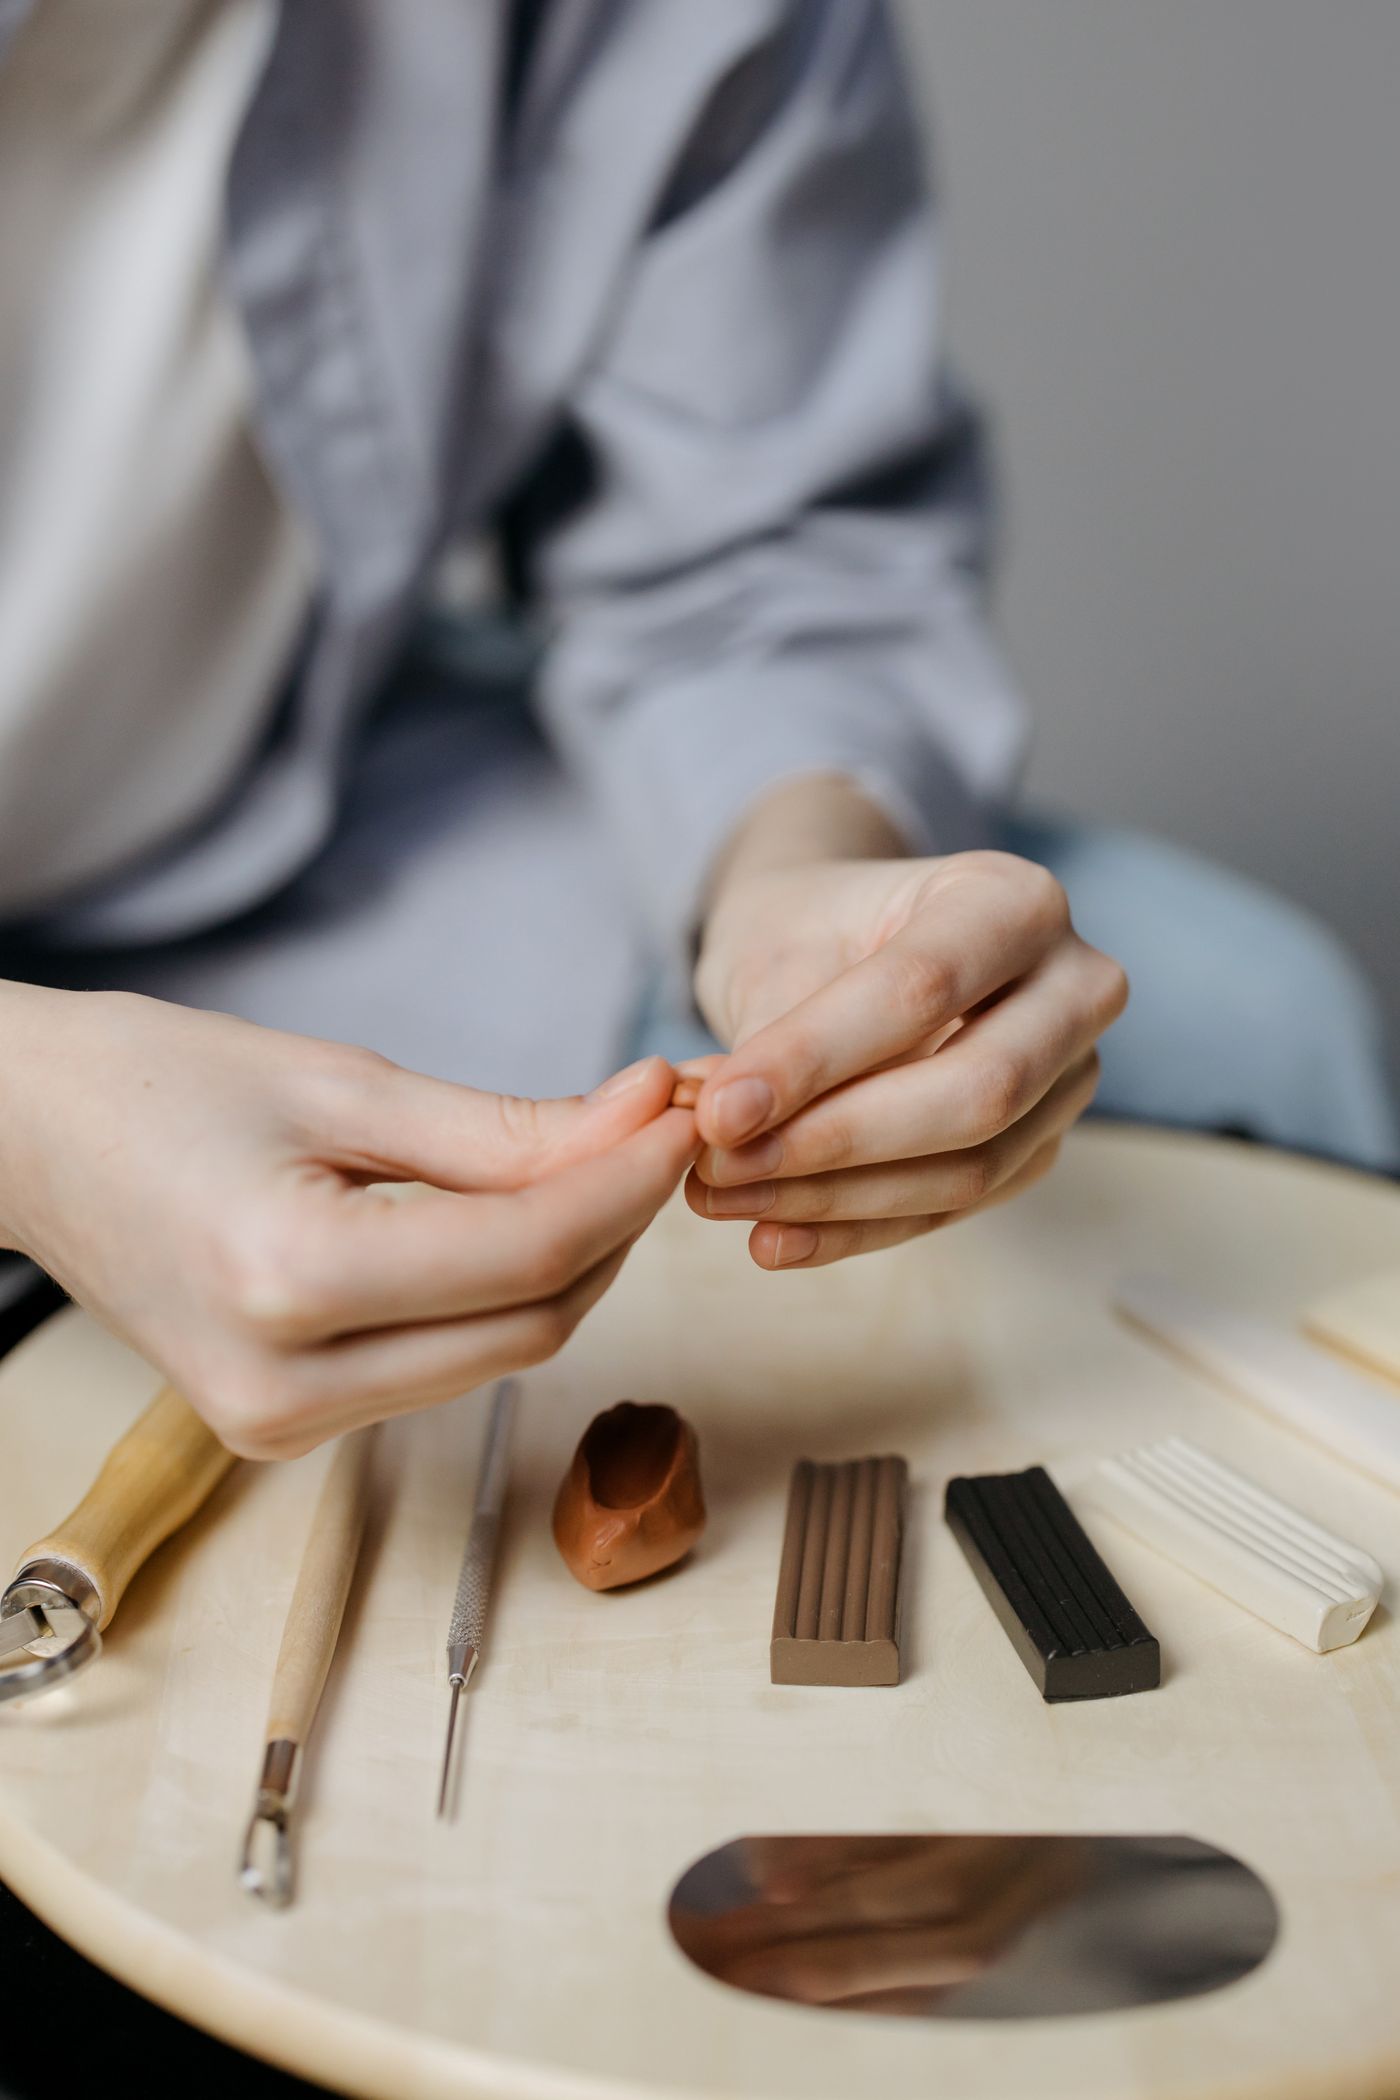
Hands shaping clay with tools at a work surface. Illustrative photograph via Pexels.
A piece is not finished organizationally just because it has moved off the drying tray. Decide whether it is being displayed, given away, kept with seasonal decorations, or retained as a sample. Each destination needs appropriate support and protection for the actual object rather than a generic promise that all clay ornaments are sturdy.
Identify sets before separating them. If three decorations belong together, record the count and destination while the connection is obvious. For gifts, check the piece and any relevant care information before wrapping it. Do not label a decorative craft as a dish, toy, or garden accessory without a sound basis for that use.
Release work that nobody intends to finish or keep using a disposal route appropriate to the material and local guidance. You do not need to preserve every experiment to respect the making process. A clear decision frees the protected drying area for the next project instead of turning it into permanent storage for unidentified shapes.
At the end of a session, account for the remaining compound, current pieces, tools, and instructions separately. Check that unused material is stored as directed and that drying work has not been accidentally enclosed. Follow the product’s cleanup instructions rather than washing an unknown amount of residue into a household drain.
Leave a short next-step note where the responsible person can find it. “Check leaf ornaments before painting; new material remains in labeled tub” provides a better restart than a room full of supplies arranged by color. If the next task needs a different surface, reserve it before the current project reaches that stage.
For shared supplies, the container-limit comparison can help keep the collection within the room’s real capacity. Apply the limit to supplies you can identify and responsibly maintain. The successful system lets a person explain what each group is, what happens next, and which surface must remain available until that happens.
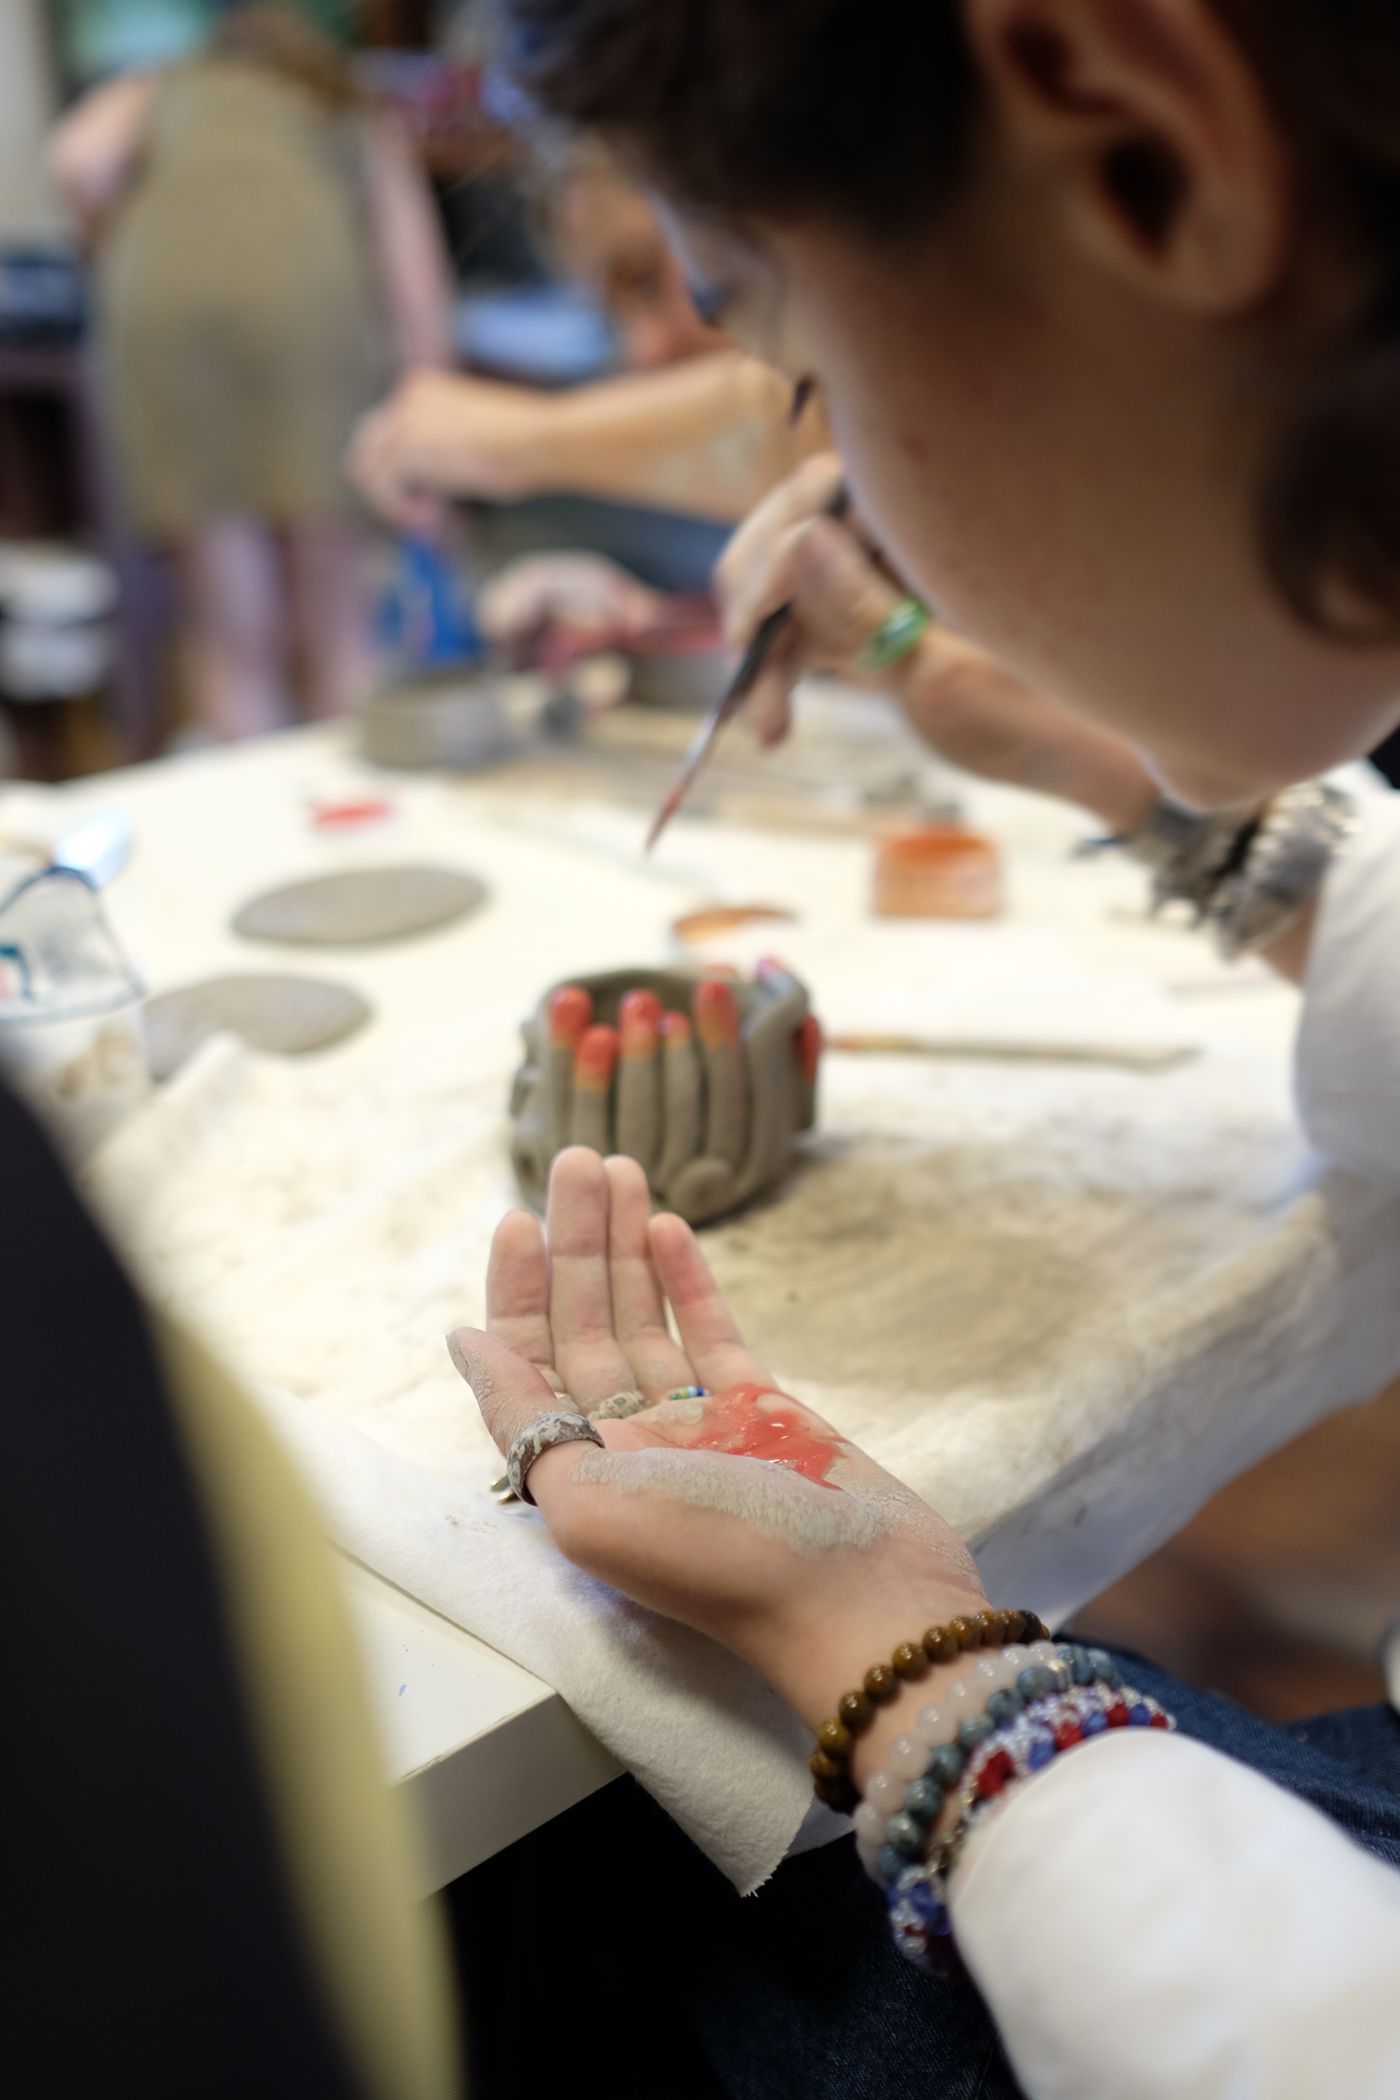
Child using a paintbrush at a pottery table; illustrative finishing-supply context. Illustrative photograph via Pexels.
Begin with one material and one modest project rather than buying a complete miniature studio. A labeled supply enclosure, an appropriate undisturbed work support, and a short project record may cover the actual need. Add another support only when the existing routine shows that separate stages genuinely overlap.
After the first project, review where the delay occurred. If drying work blocked daily use of the room, reduce the batch or choose a better approved location. If finished pieces accumulated without destinations, resolve that decision before expanding the supply collection. Storage should follow the work you can complete, including the quiet stages when nothing appears to be happening.
Explore related decisions in our Home Organization hub.
Editorial research checked October 20, 2026. Published trend reports are context for these editorial applications, not verified live keyword rankings. Practical household guidance; photographs do not document a tested household or authenticate pictured materials.
Read the original article on Small Home Rhythm
Pinterest’s Fall 2026 creator guidance includes hands-on hobbies and casual crafting. This guide applies that signal to a specific small-room problem: keeping clay work identifiable as it changes stages. It is a storage and handoff routine, rather than a recipe, a drying timetable, or instructions for making a food-contact object.
Give each material its own identity
Start with the actual package. Record the brand, product name, color, opening date, and the instructions that apply to that compound. “Air dry” describes a broad category, not a promise that every material can be stored, painted, or sealed in the same way. Keep the original directions accessible instead of replacing them with a handwritten guess.
Give a current project a short name that means something outside the moment of making it. “Three leaf ornaments, Maya, October” is more useful than “clay stuff.” A small card or private note can connect the project with its maker, material, intended next step, and any unresolved question. Keep labels beside the work rather than pressing them into a delicate surface.
Separate unrelated modeling compounds. A child’s reusable modeling material, a ceramic clay requiring firing, and an air-drying craft compound do not become interchangeable because they are the same color. The broader storage test before buying an organizer helps define what actually belongs in the project before you choose its container.
Black-and-white close-up of hands working clay. Illustrative photograph via Pexels.
Keep unused clay apart from worked material
Unused clay needs the storage method specified by its manufacturer. Crayola, for example, directs users to keep unused Air-Dry Clay in an airtight container and advises against storing clay to which water has been added. That is guidance for that product, not a universal instruction to rehydrate or indefinitely preserve every compound.
Keep the original product information with the remaining supply. If the original enclosure is no longer usable, select a suitable replacement according to the material’s instructions and identify its contents clearly. Do not transfer an unfamiliar material into a food container and leave it where someone could mistake it for something edible.
Worked scraps deserve a separate decision. Mark them as worked material and consult the product directions about whether they can be saved. Do not quietly mix uncertain scraps back into fresh stock just to make the shelf look tidy. A small supply that remains identifiable is more useful than a larger lump whose condition and composition are unknown.
Define a real drying footprint before starting
Reserve a stable place that can remain undisturbed for the required process. A tiny ornament still needs support, space around it, and a route for the person who must move past the shelf. The best location is not automatically the sunny windowsill or the surface closest to a heater; follow the material’s drying guidance.
Use a suitable support that allows the work to remain in the recommended position. Consider how you will carry that support if necessary, without assuming a flexible mat or overloaded tray will keep delicate shapes intact. Do not stack unfinished work or put a lid over it merely because the surrounding room needs to look finished.
Before inviting several people to make objects, check how many pieces the available drying area can actually accommodate. The capacity ceiling approach is especially helpful here: count the space needed by work in progress, not only the volume of unopened supplies. If the area is full, finish or resolve those projects before opening another batch.
Leaf impression on rolled clay beside a rolling pin. Illustrative photograph via Pexels.
Label the stage without inventing a ready date
A useful drying label records when the piece was formed and what still needs checking. It should not turn an estimated interval into a guarantee. Thickness, material, and conditions can affect the process; a surface that looks dry does not establish that the whole object is ready for the next treatment.
Use plain stage descriptions such as “formed, drying,” “check against product instructions,” and “ready for specified finish.” Record who will make that decision. In a shared room, this prevents an enthusiastic helper from painting or wrapping an object because the calendar says the original estimate has passed.
Keep a stalled project honest. If you do not know the compound, the instructions have been lost, or the piece has cracked, mark the issue rather than moving it into the finished group. The organization system should make uncertainty visible. It cannot certify that a material has dried correctly or that a damaged object is suitable for its intended use.
Separate finishing supplies from the drying shelf
Paint, sealant, brushes, and other finishing materials need their own appropriate storage and instructions. Do not place an open finish beside drying pieces simply to signal what happens next. Keep the current project note linked to the chosen product, including any compatibility question that must be resolved before use.
Plan finishing as a distinct session with the workspace, ventilation, supervision, and handling required by the actual products. A support used for a drying shape is not automatically suitable for a coating operation. Likewise, the fact that a decoration has been sealed does not establish food safety, waterproofness, or outdoor durability.
Put away unused finishing stock when the session ends, accounting for small parts and tools where children or pets are present. The small mending-kit routine offers a useful parallel for returning tools after a task. Keep the clay tools in their own identified group so another repair or craft does not borrow an essential item unnoticed.
Hands shaping clay with tools at a work surface. Illustrative photograph via Pexels.
Give completed pieces a destination
A piece is not finished organizationally just because it has moved off the drying tray. Decide whether it is being displayed, given away, kept with seasonal decorations, or retained as a sample. Each destination needs appropriate support and protection for the actual object rather than a generic promise that all clay ornaments are sturdy.
Identify sets before separating them. If three decorations belong together, record the count and destination while the connection is obvious. For gifts, check the piece and any relevant care information before wrapping it. Do not label a decorative craft as a dish, toy, or garden accessory without a sound basis for that use.
Release work that nobody intends to finish or keep using a disposal route appropriate to the material and local guidance. You do not need to preserve every experiment to respect the making process. A clear decision frees the protected drying area for the next project instead of turning it into permanent storage for unidentified shapes.
Reset for the next session
At the end of a session, account for the remaining compound, current pieces, tools, and instructions separately. Check that unused material is stored as directed and that drying work has not been accidentally enclosed. Follow the product’s cleanup instructions rather than washing an unknown amount of residue into a household drain.
Leave a short next-step note where the responsible person can find it. “Check leaf ornaments before painting; new material remains in labeled tub” provides a better restart than a room full of supplies arranged by color. If the next task needs a different surface, reserve it before the current project reaches that stage.
For shared supplies, the container-limit comparison can help keep the collection within the room’s real capacity. Apply the limit to supplies you can identify and responsibly maintain. The successful system lets a person explain what each group is, what happens next, and which surface must remain available until that happens.
Child using a paintbrush at a pottery table; illustrative finishing-supply context. Illustrative photograph via Pexels.
Try a one-project setup first
Begin with one material and one modest project rather than buying a complete miniature studio. A labeled supply enclosure, an appropriate undisturbed work support, and a short project record may cover the actual need. Add another support only when the existing routine shows that separate stages genuinely overlap.
After the first project, review where the delay occurred. If drying work blocked daily use of the room, reduce the batch or choose a better approved location. If finished pieces accumulated without destinations, resolve that decision before expanding the supply collection. Storage should follow the work you can complete, including the quiet stages when nothing appears to be happening.
Explore related decisions in our Home Organization hub.
Sources and editorial scope
Editorial research checked October 20, 2026. Published trend reports are context for these editorial applications, not verified live keyword rankings. Practical household guidance; photographs do not document a tested household or authenticate pictured materials.
Related reading
- How to Organize Pet Supplies in a Small Home Without Creating a Pet Closet
- How to Organize Kids’ Art Supplies in a Small Home Without Creating a Craft Explosion
- Organize Sewing Patterns by Project, Size, and Current Version
- Explore more Organizing Routines articles
Read the original article on Small Home Rhythm